

Please make sure your SunEnergyXT 500/500 PRO meets the following requirements:
- Local communication is enabled
Please operate in the App to enable this function:
- Open the App and go to the "Me" page.
- Tap "Smart Home Hub".
- Tap "Home Assistant".
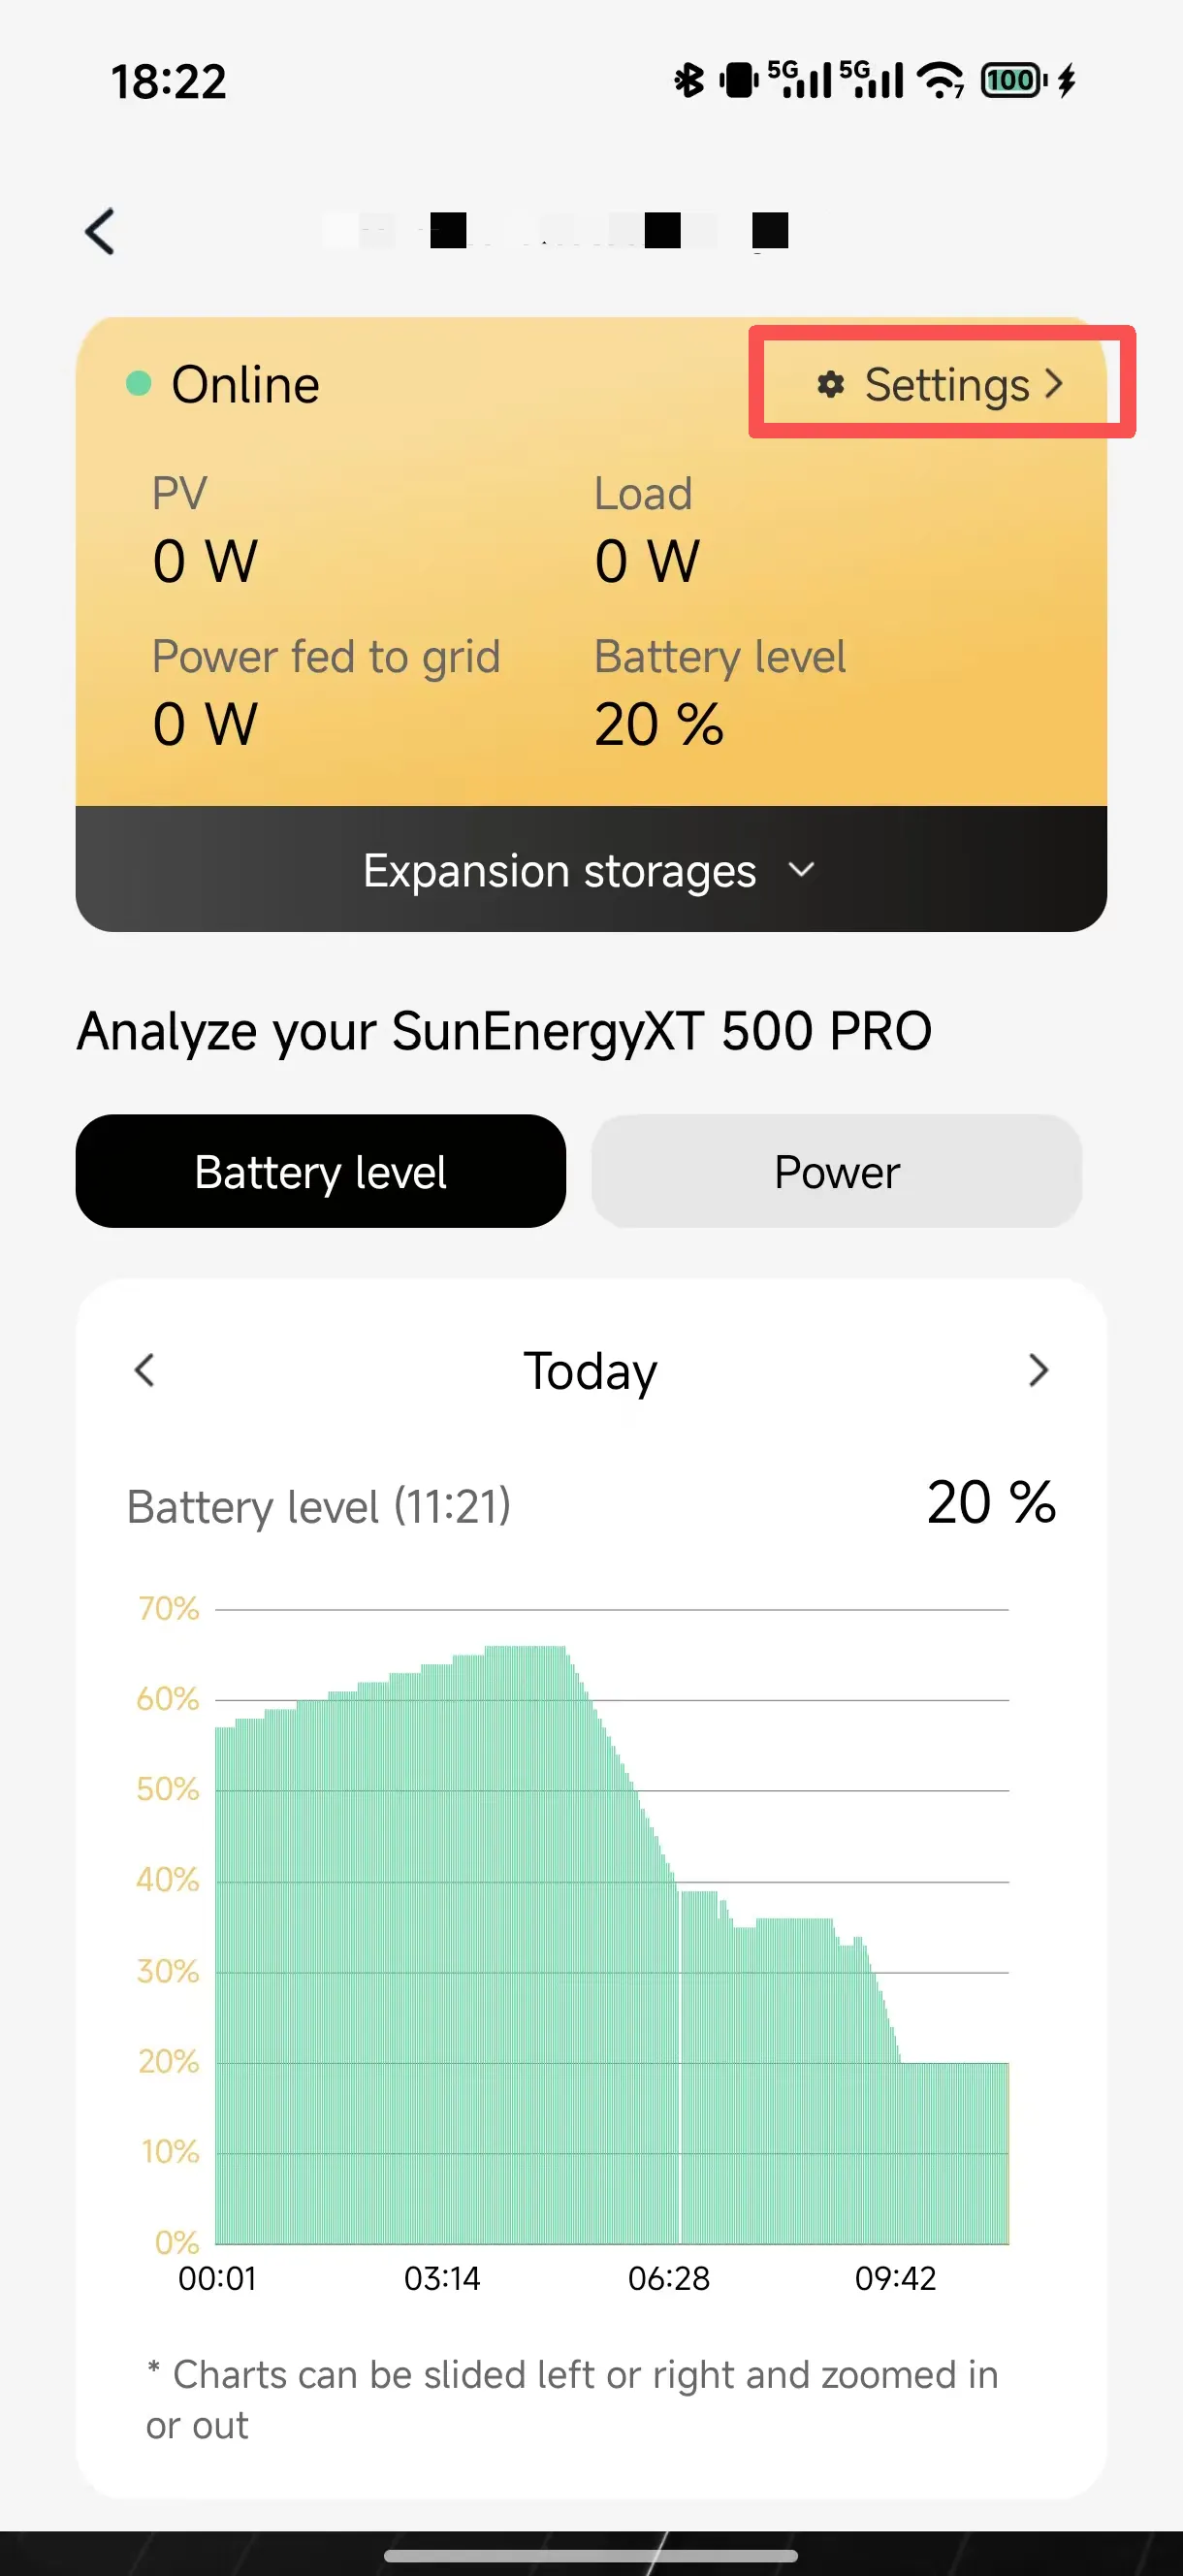
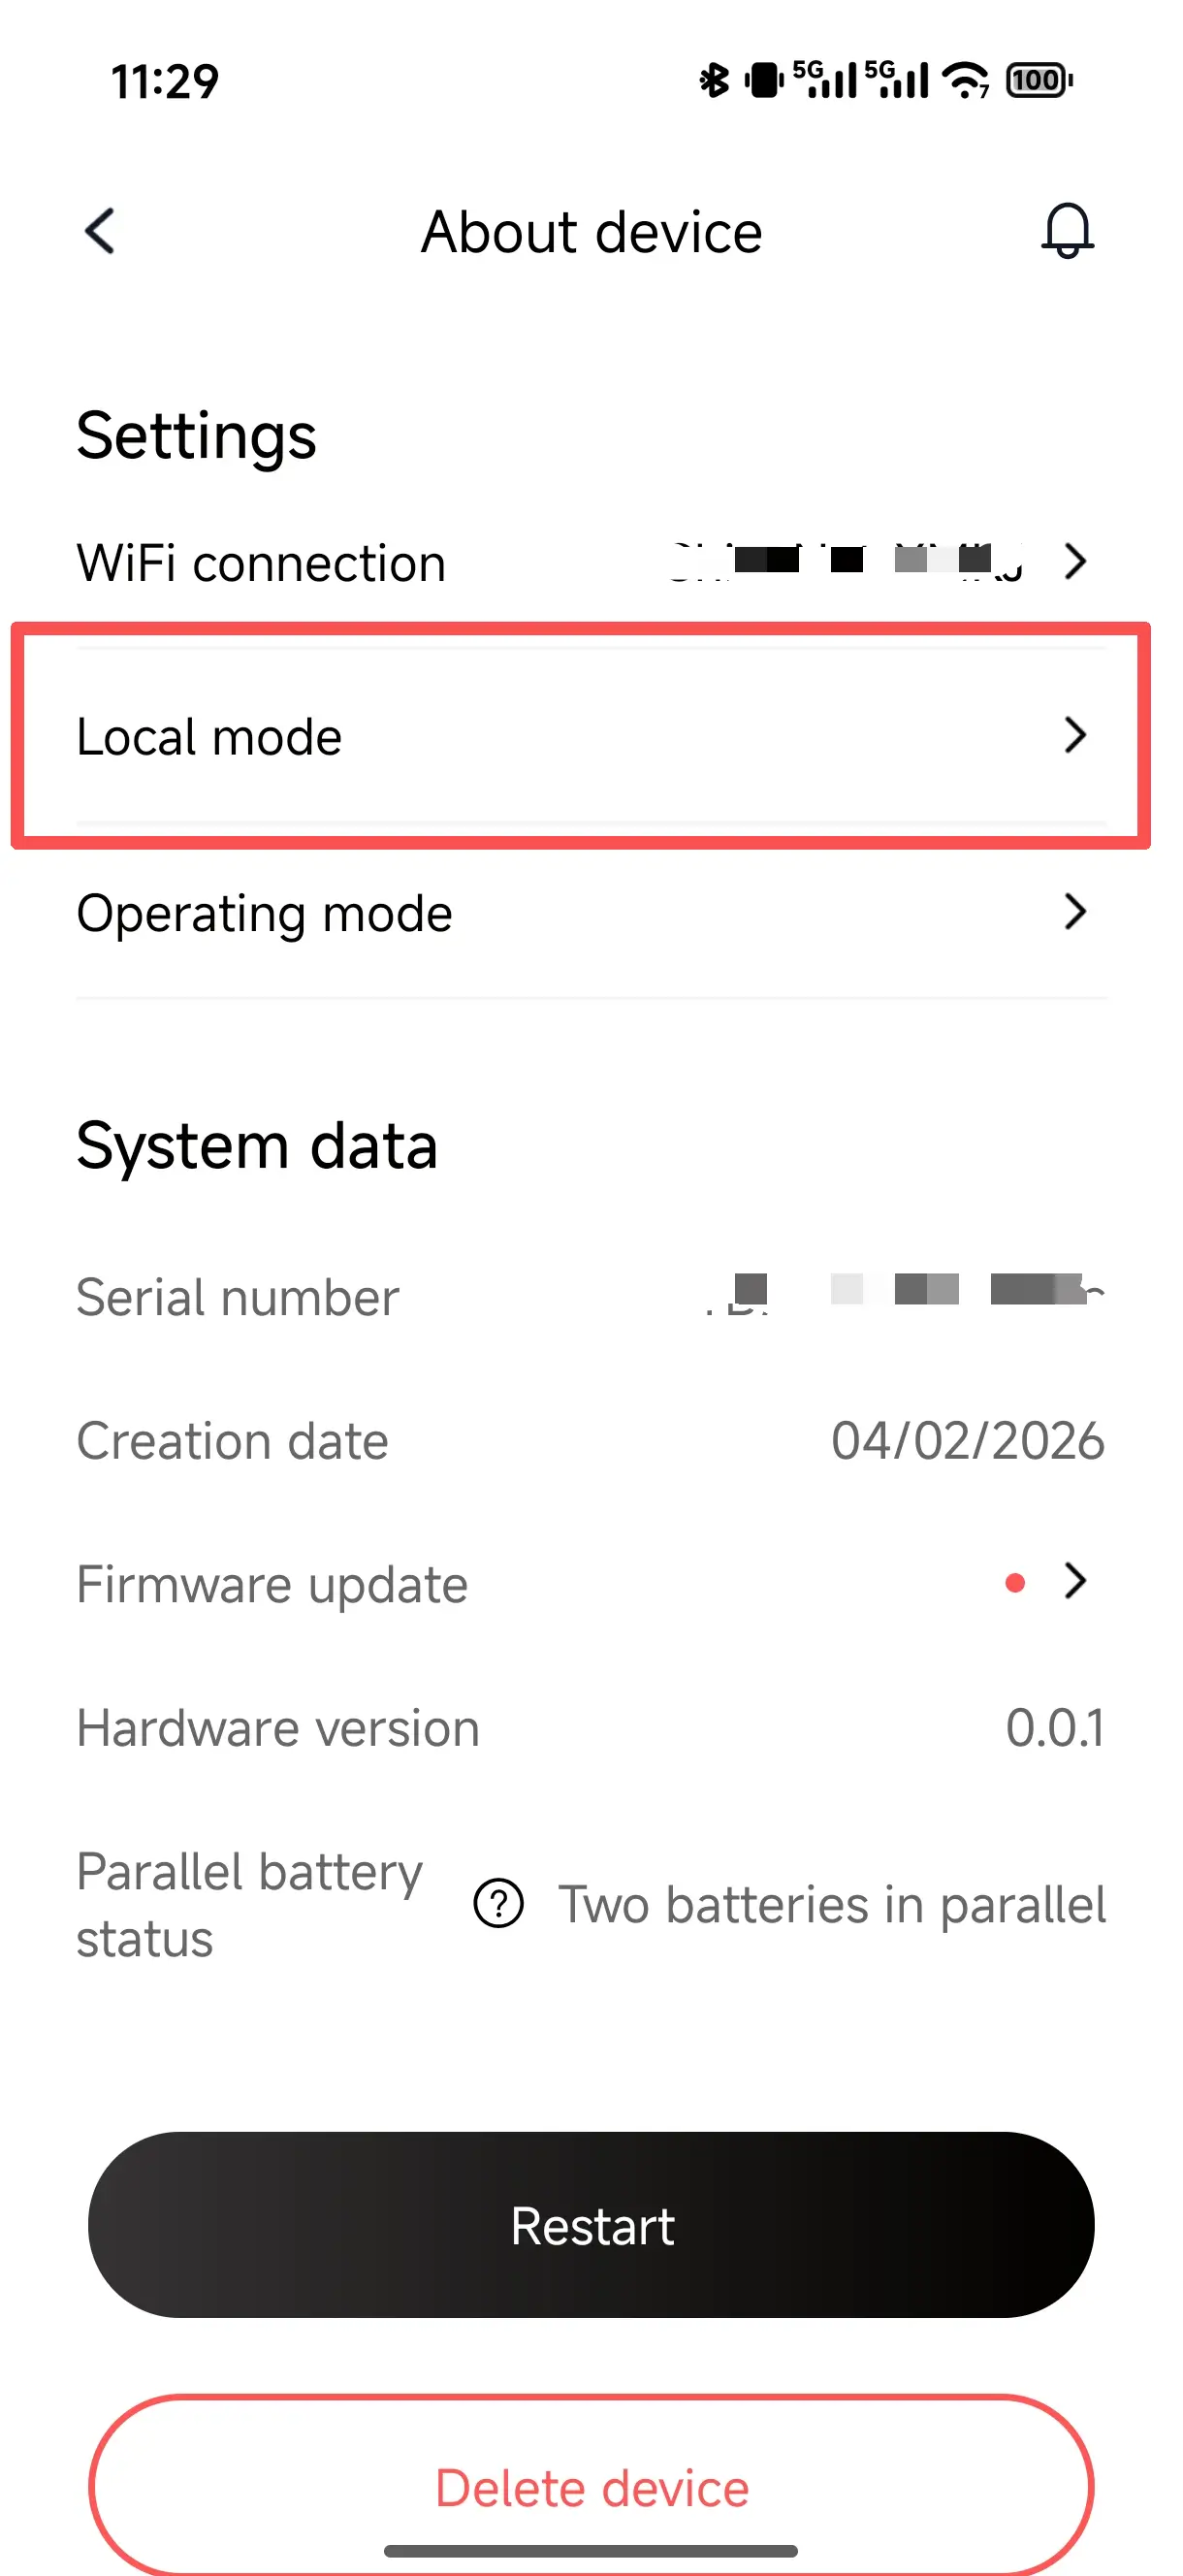
- Choose the device and toggle on the switch.
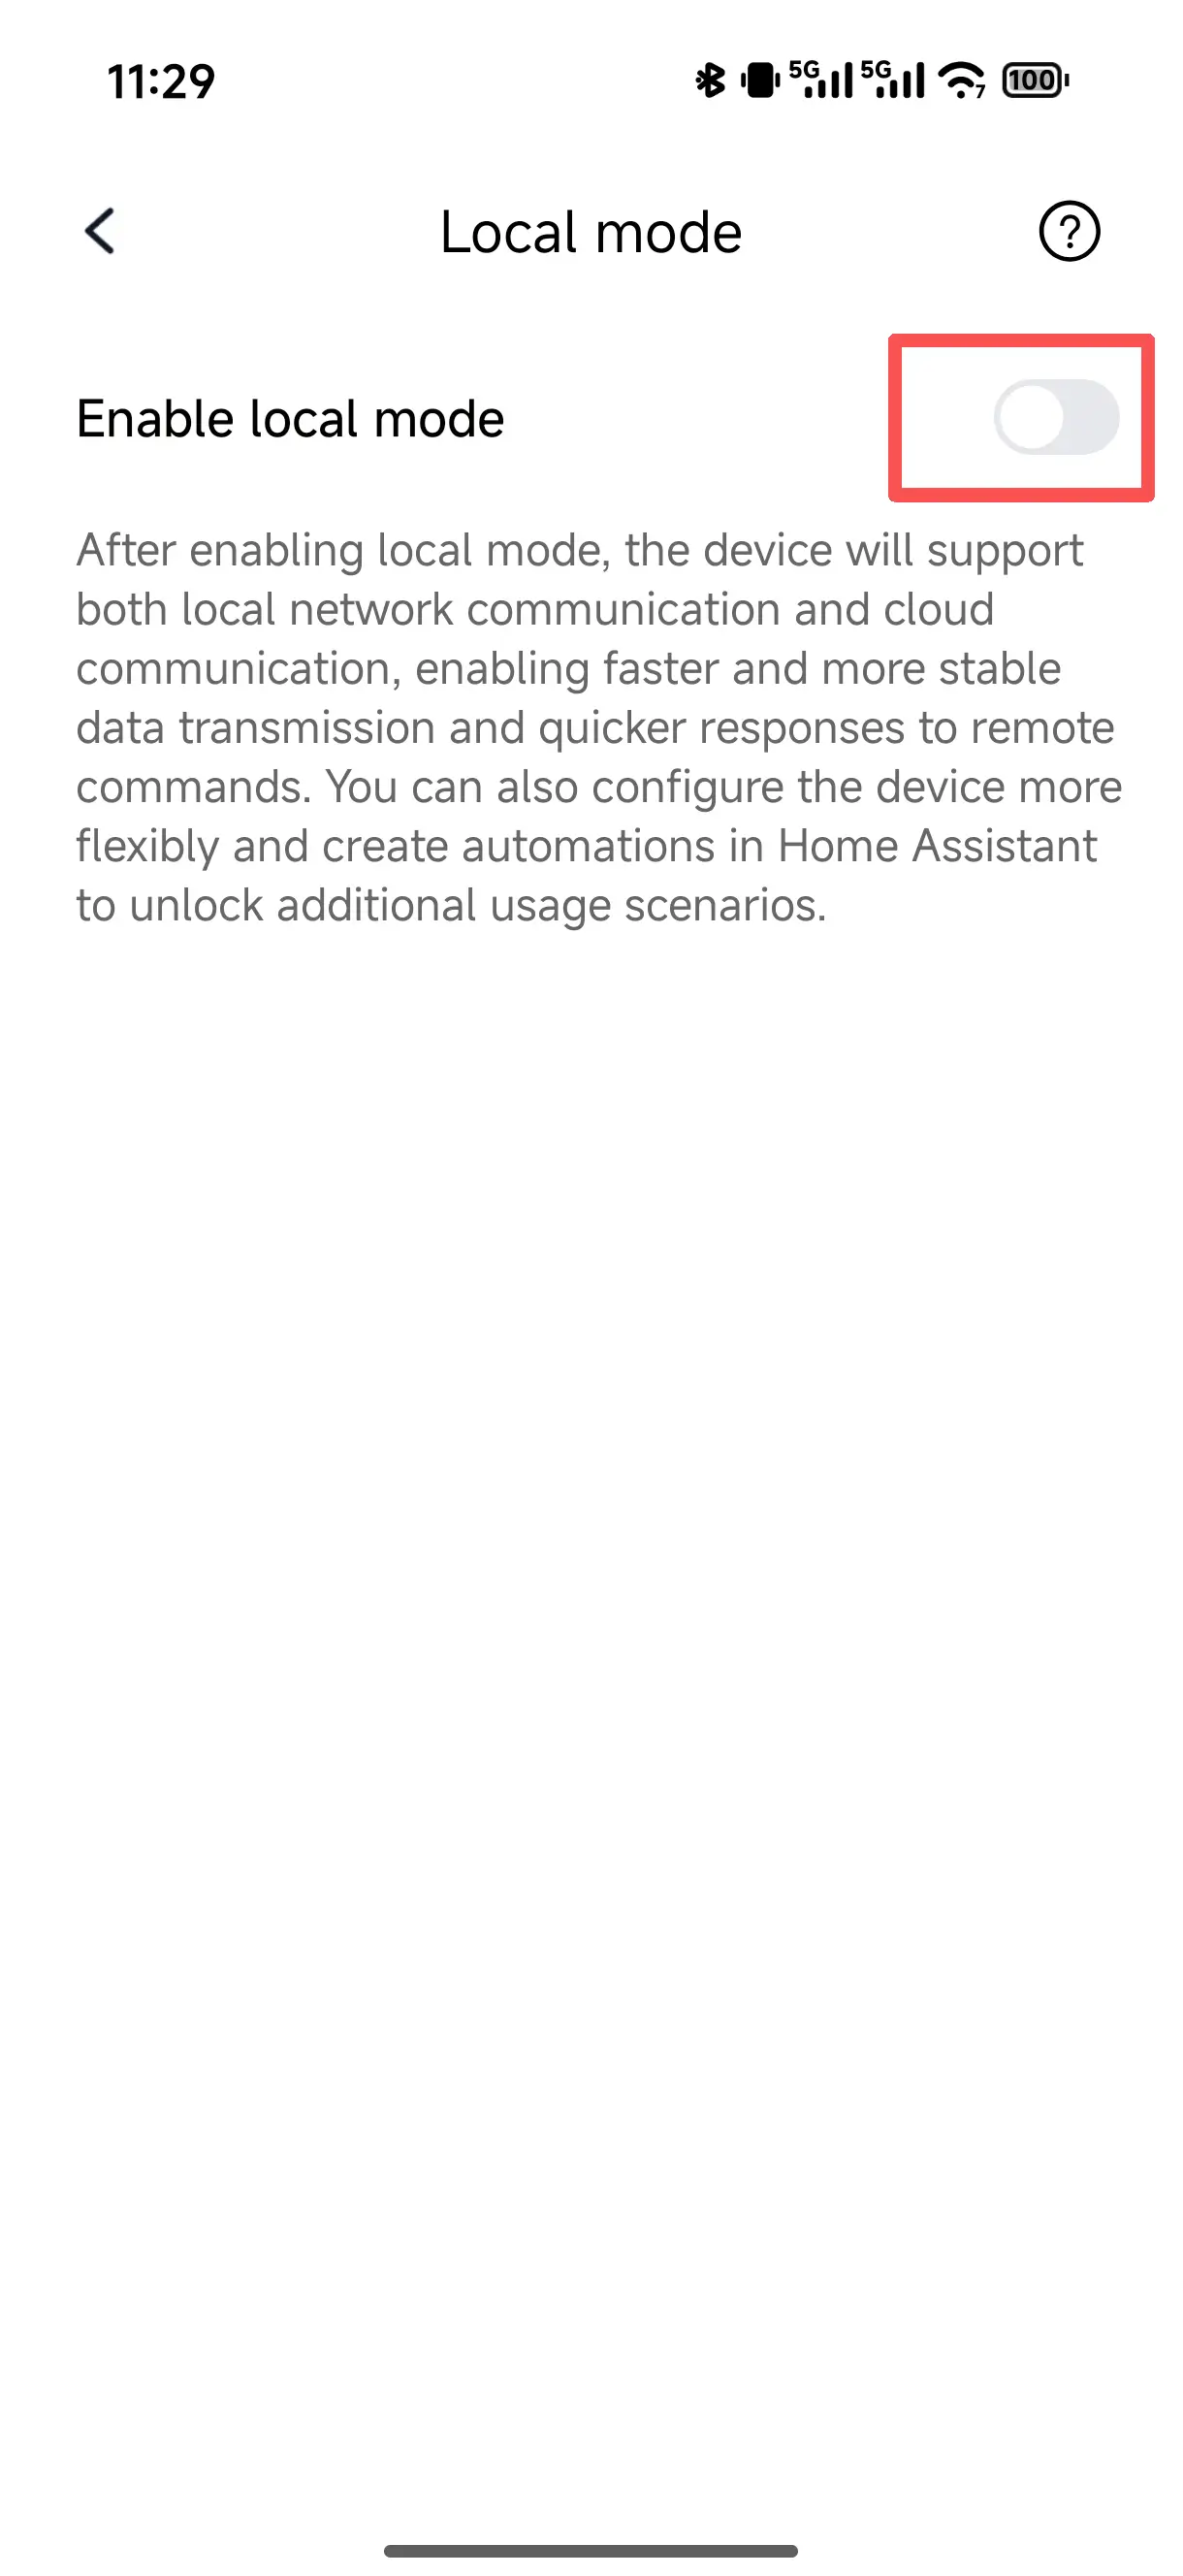
The device will automatically refresh local network information. Please note down the displayed IP Address and Port (Default is 80). (The device supports automatic scanning and adding by HA by default; entering the IP directly is supported in some exceptional cases.)
Install Home Assistant
Please visit: https://www.home-assistant.io/installation/
Complete Home Assistant onboarding
Please visit: https://www.home-assistant.io/getting-started/onboarding/
Check network connectivity
Make sure the SunEnergyXT 500/500 PRO and Home Assistant are connected to the same local network.
Integration Procedure
To make the integration process easier, it is recommended to complete the setup on a PC.
Once integrated, you can view device information in Home Assistant on your PC or mobile device.
Step-1 | Access the Home Assistant web interface.
Open a web browser on your computer and go to:
http://homeassistant.local:8123(Ensure your computer and Home Assistant are on the same local network.)
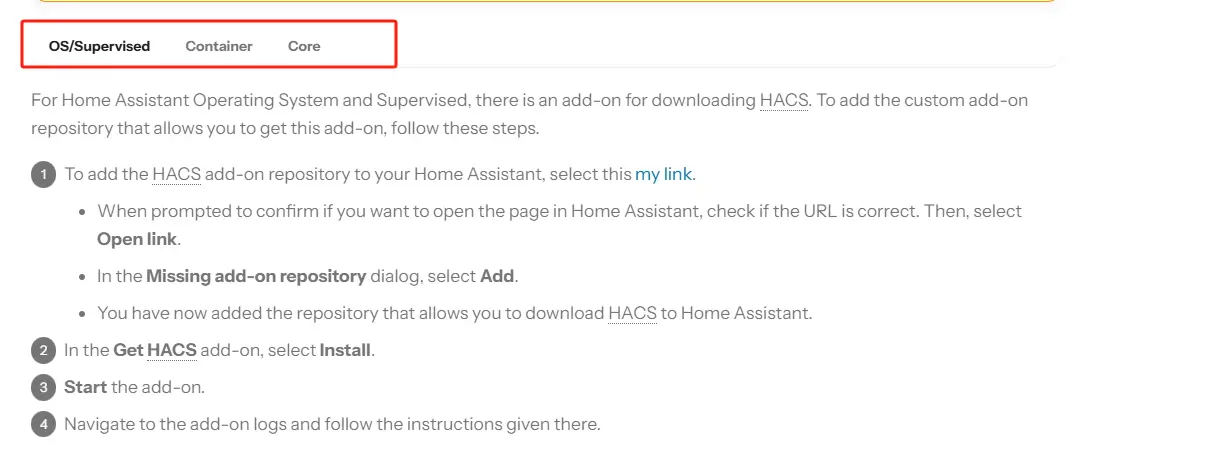
Step-2 | Install Integration via HACS
Please visit: SunEnergyXT 500/500 PRO Plugin Installation Guide
Step-3 | Integrate your device into Home Assistant
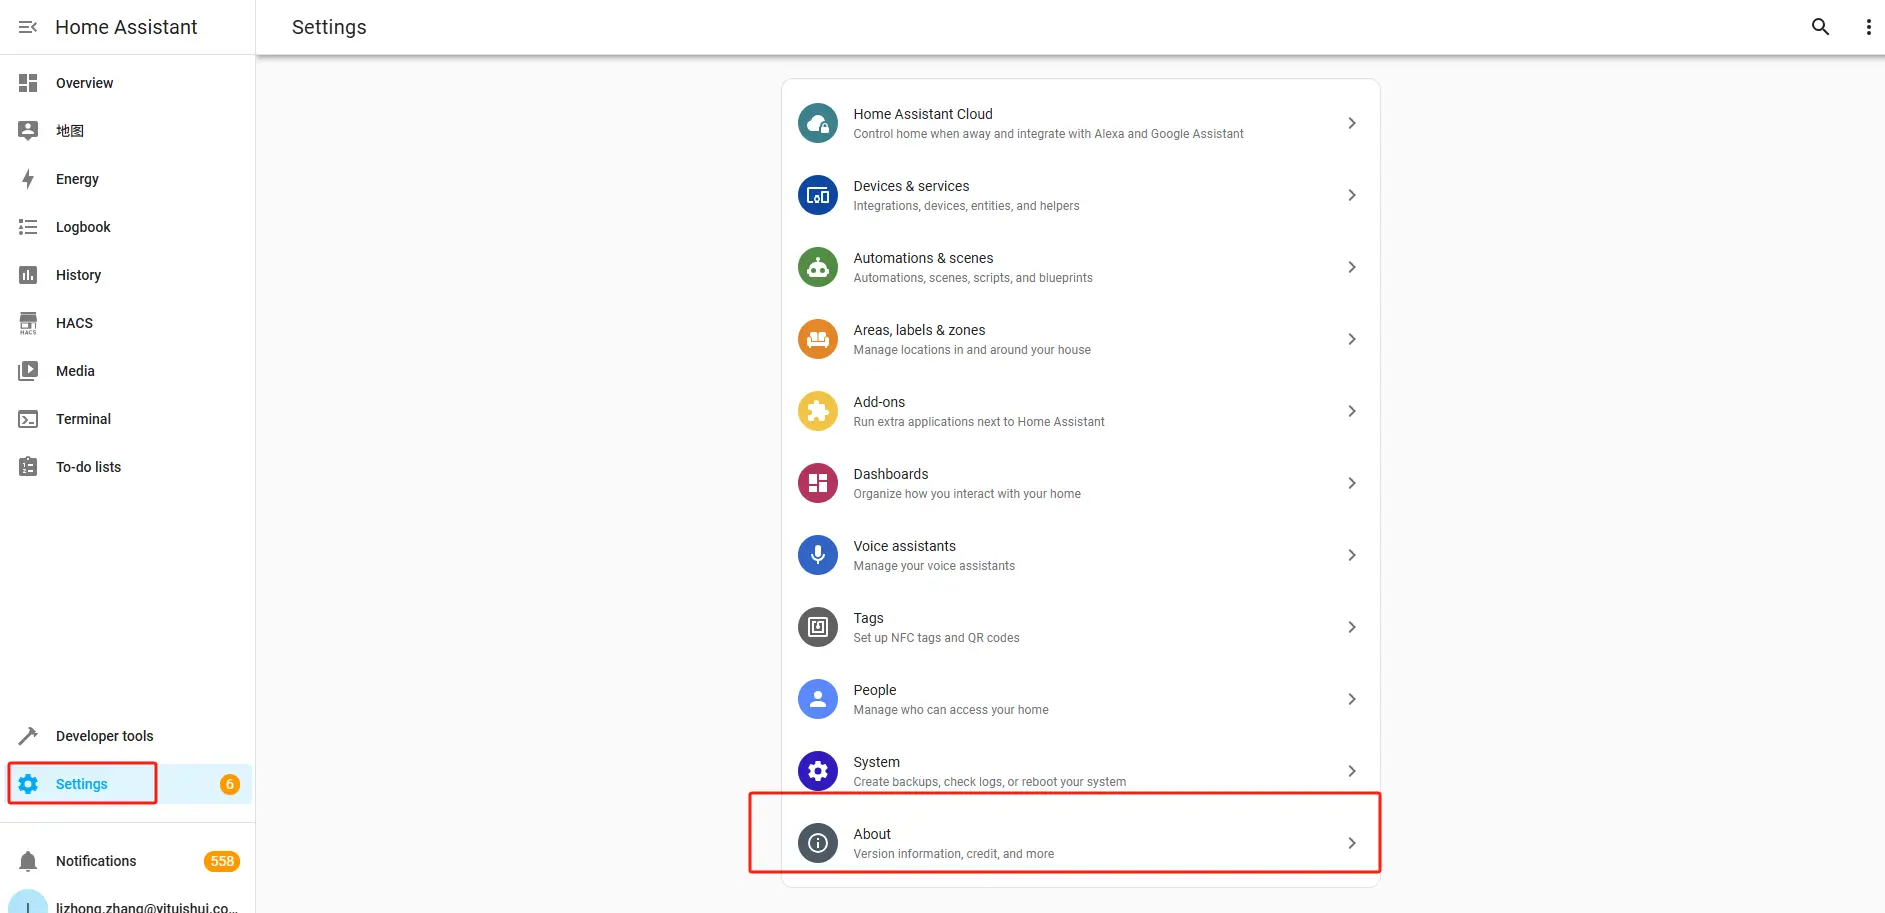
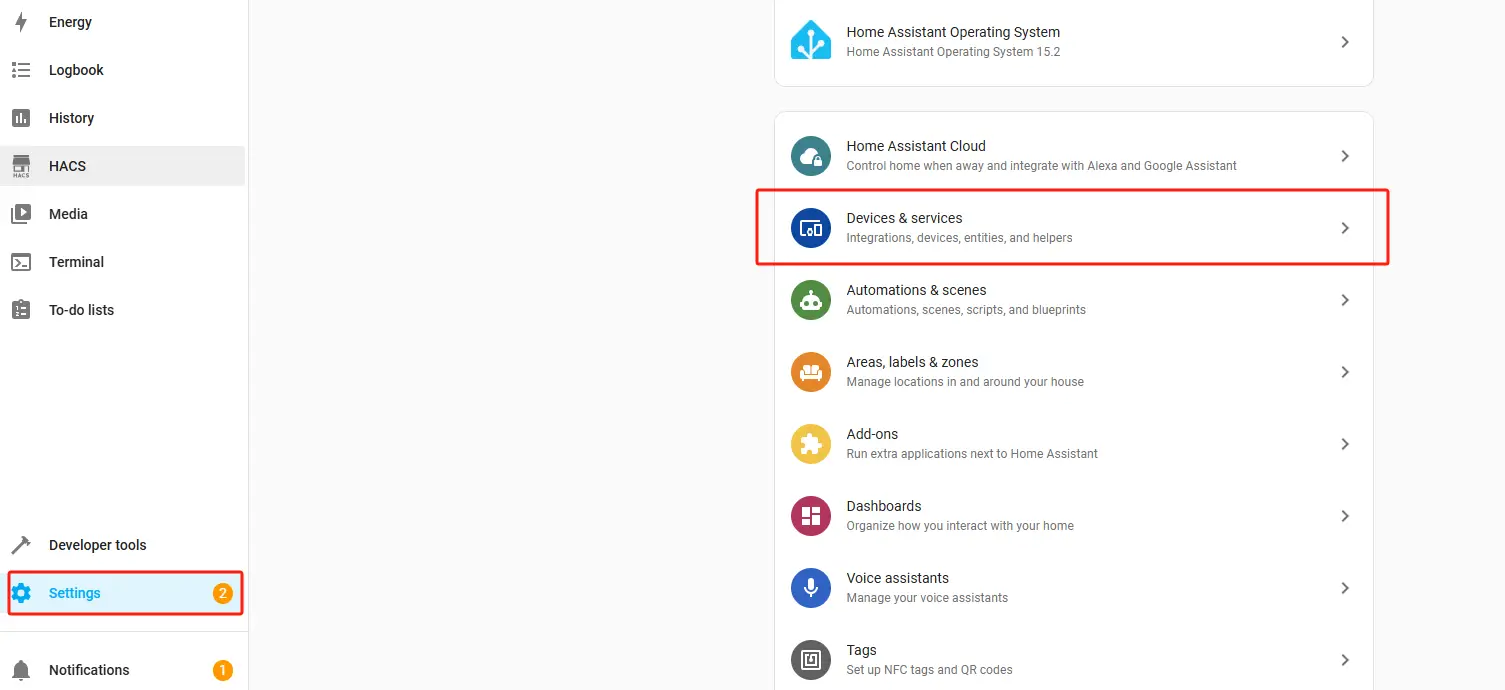
1. On the Home Assistant page, click "Settings" in the left sidebar, then click "Devices & services".
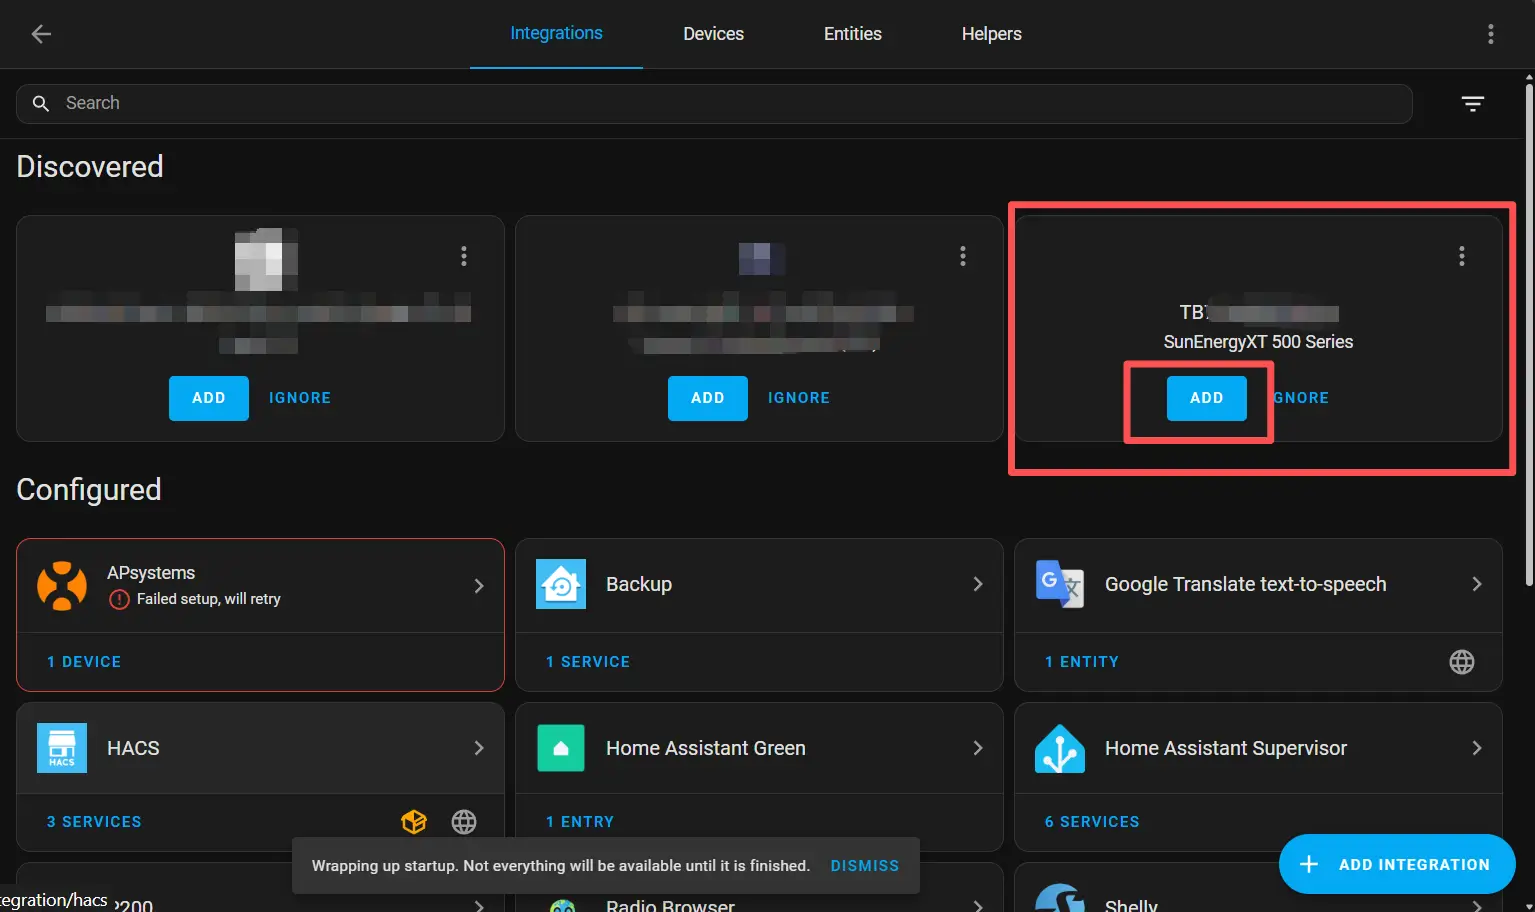
Case A: Auto Discovery
If the system has automatically identified the device and displayed the device serial number, please select the device directly on the current page and click .
Case B: Manual Configuration
If the interface does not show the device to be added, it means the device was not automatically discovered. You need to enter the integration and manually add the device.
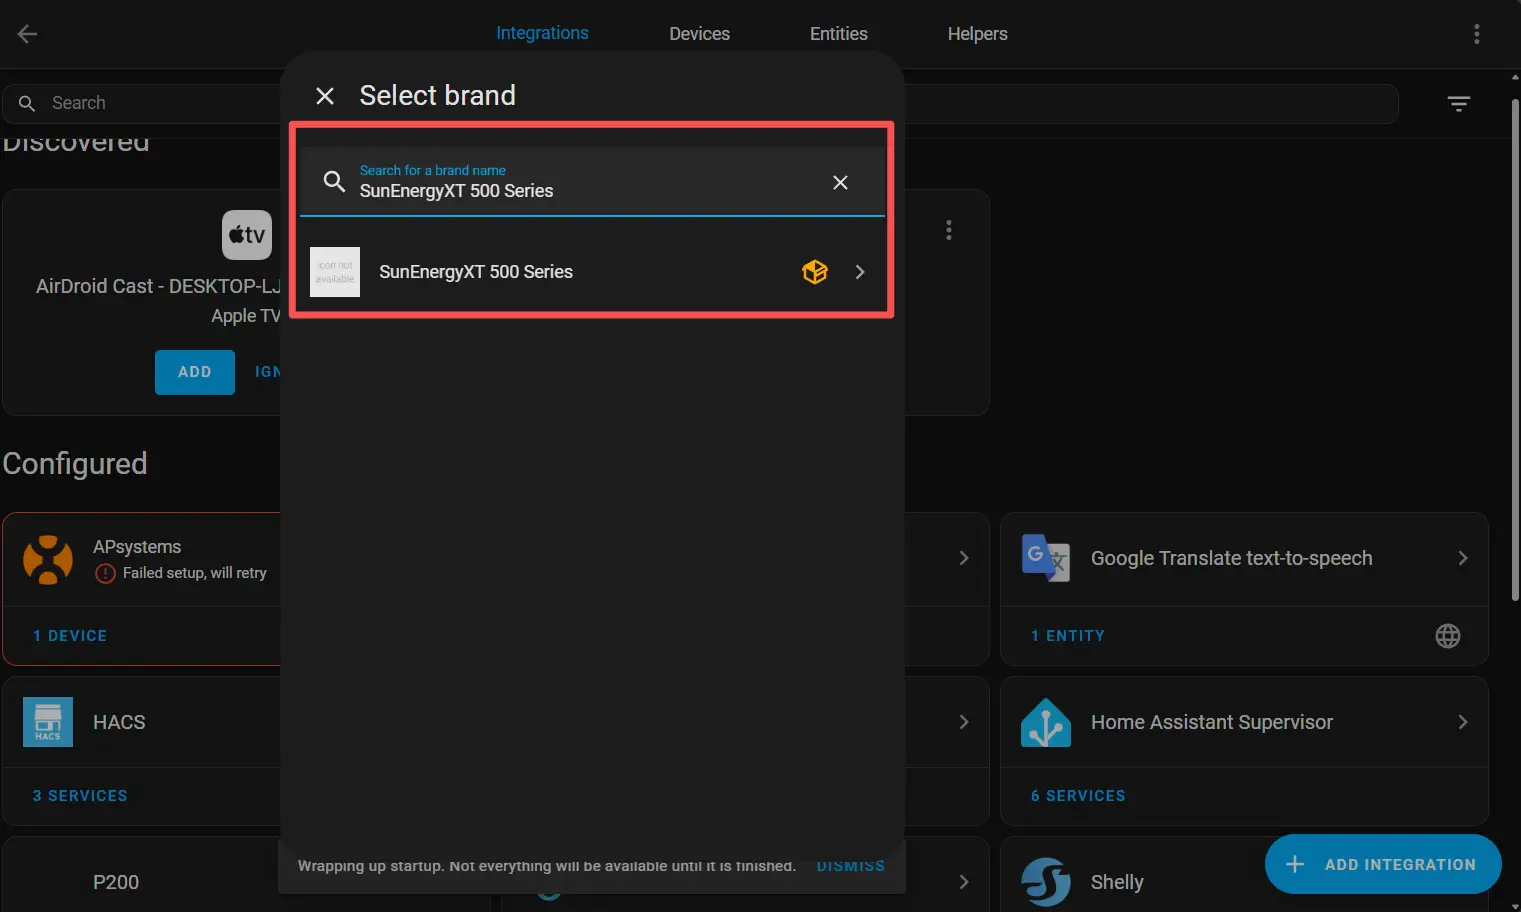
The "Manual Configuration" process is as follows:
1. Please fill in the following information accurately:
- Host: The IP address of the device
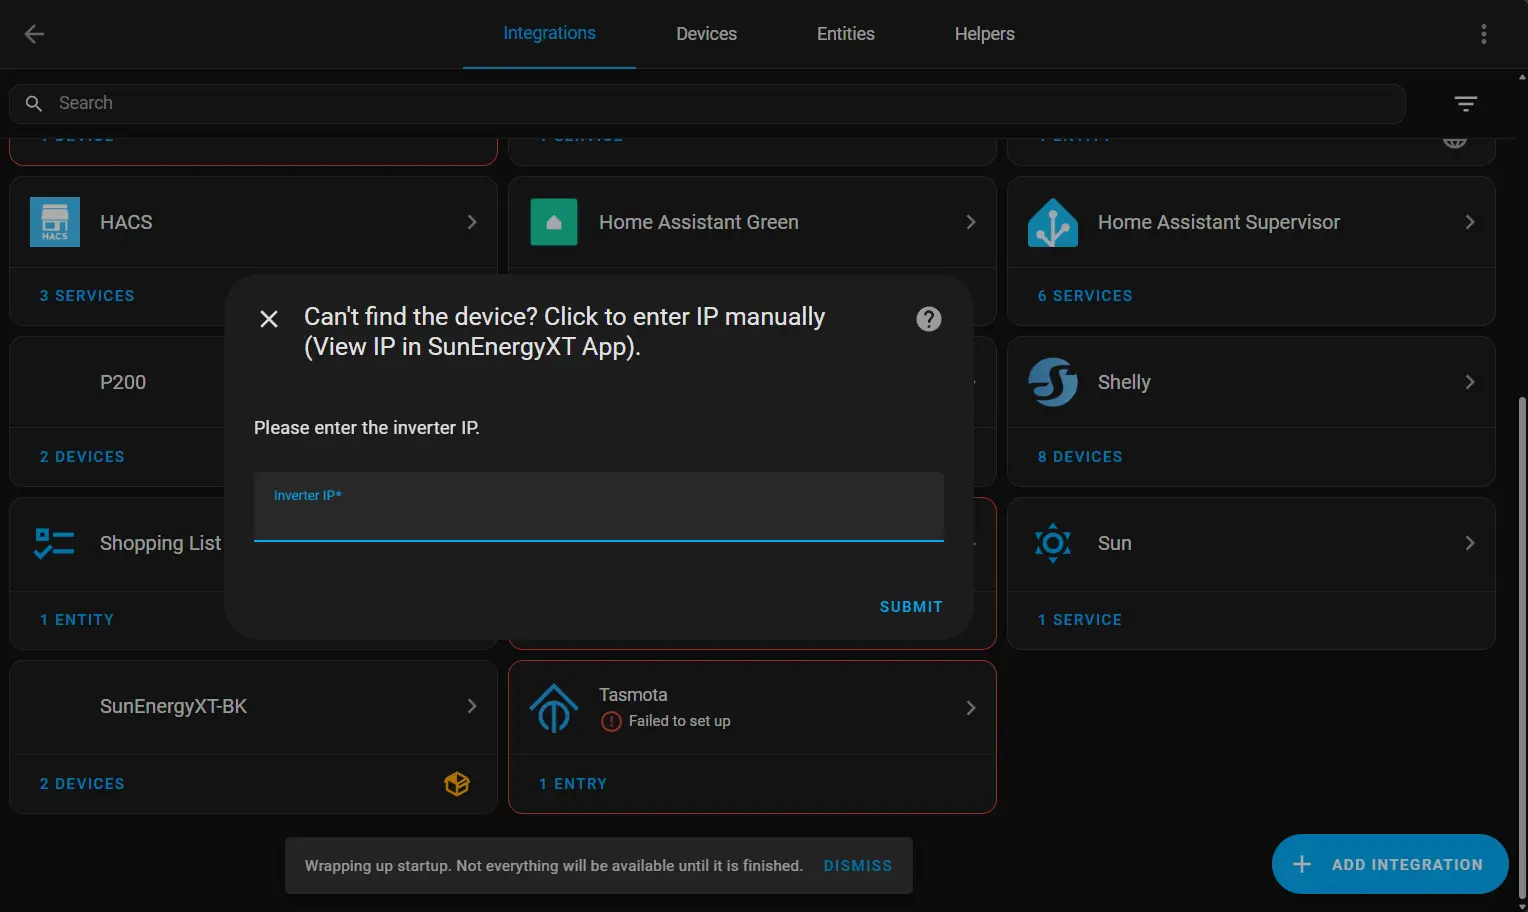
2. After filling out the form, click "SUBMIT".
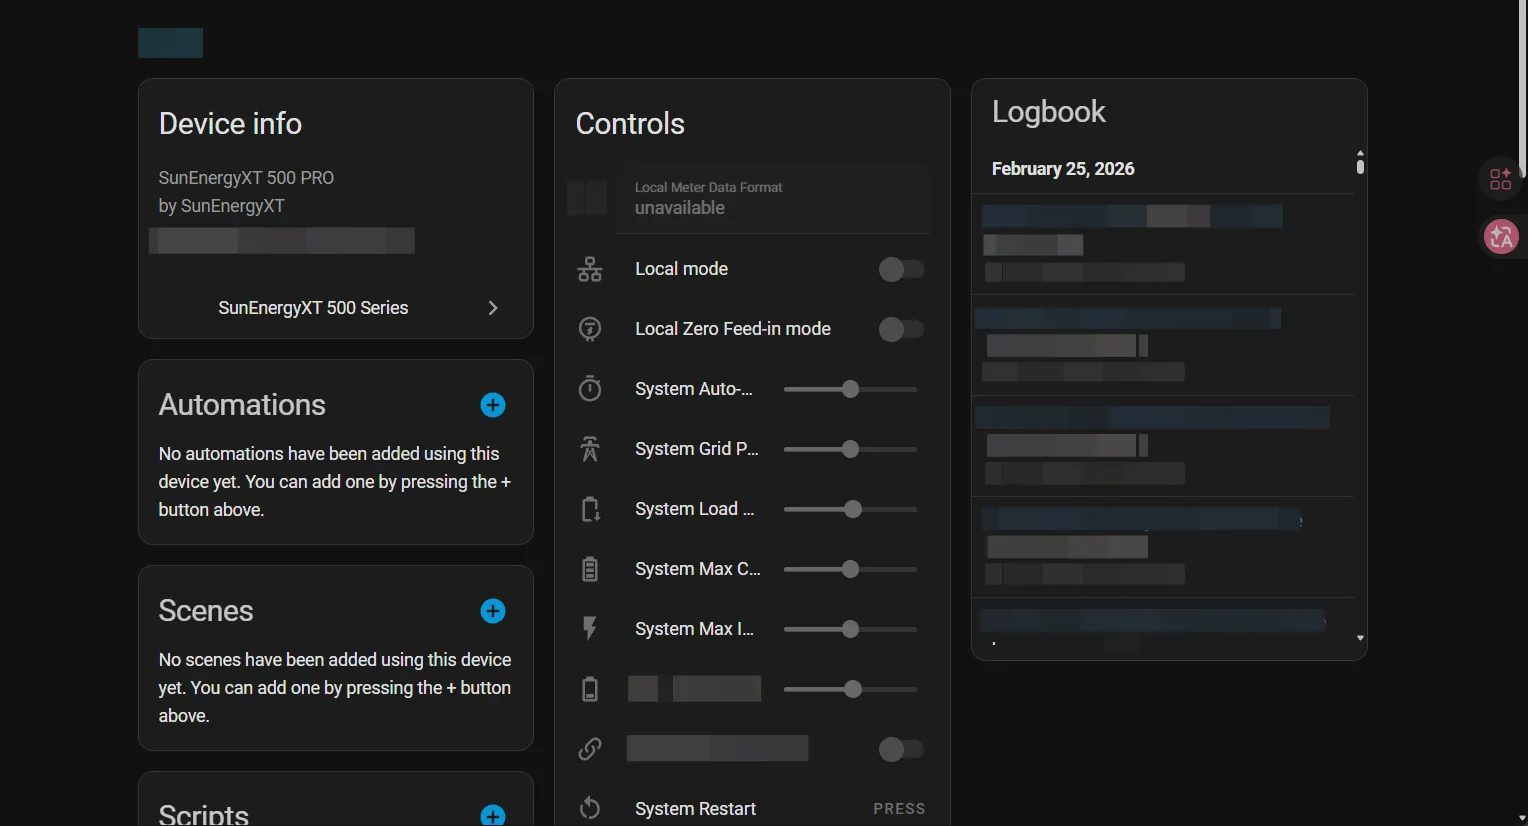
Step 4 | Verify Integration
Once the integration is successful, you can view device data and controls in Home Assistant, as shown in the highlighted area below.